Installing the Platform via Rancher
(Not recommended for production.)
We can register the OLIVE Platform as a repository in Rancher and install it as an application.
Register OLIVE Platform
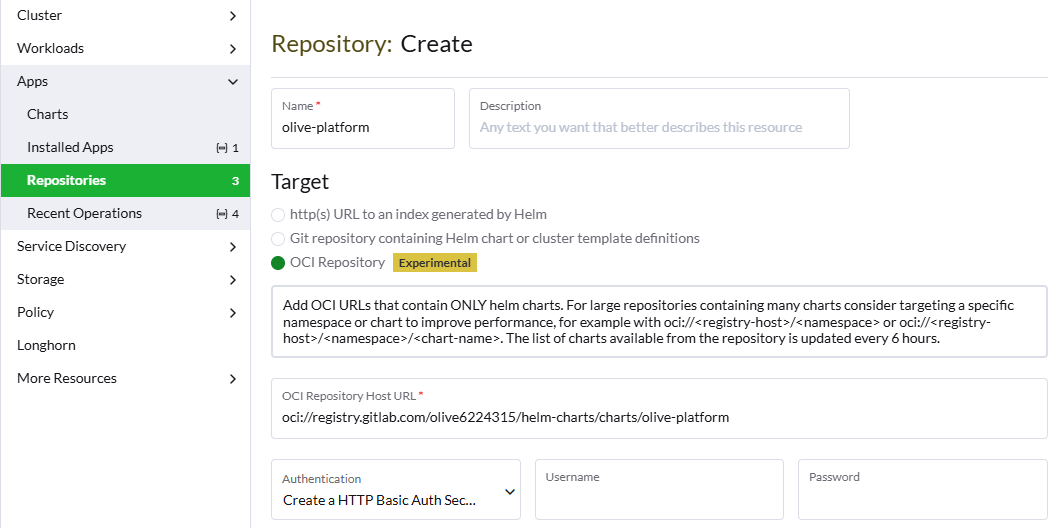
Navigate via Apps to Repositories and create a new registry entry.
Define a unique name.
Switch OCI Registry as Target.
Insert OLIVE Platform OCI registry URL: oci://registry.gitlab.com/olive6224315/helm-charts/charts/olive-platform
Provide username and password to authenticate with the GitLab registry.
A new chart will now be visible that can be used to install an OLIVE Platform instance.
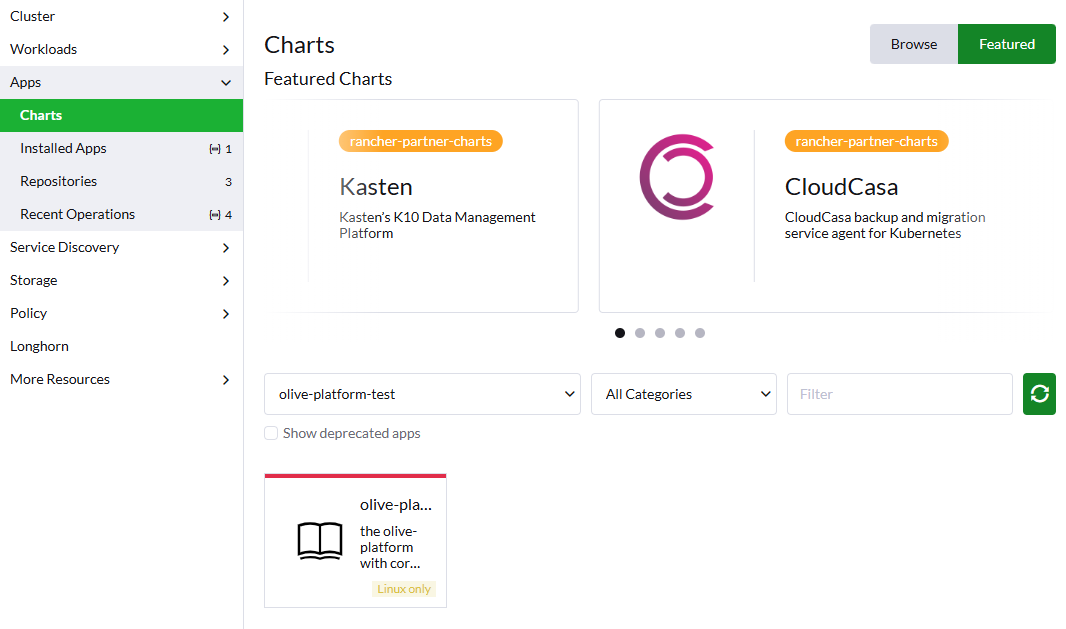
Install OLIVE Platform
Select the chart, use the latest chart version, and click Install.
When selecting an OLIVE Platform version, always use the latest officially released version.
Do not use platform versions intended for internal OLIVE development; these can be identified by postfixes such as dev or stage.
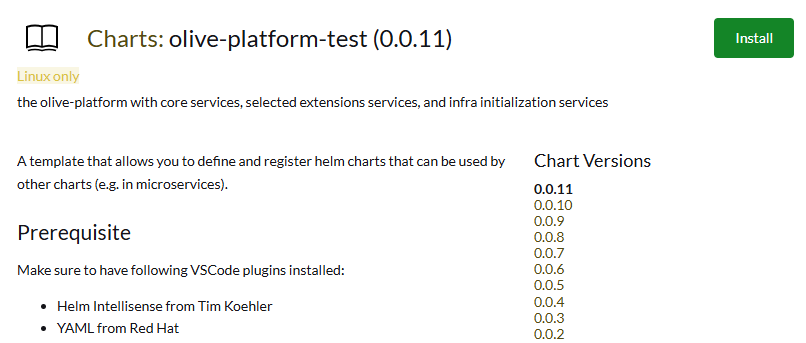
The screenshot in the original internal guide is an example and does not reflect the latest released olive-platform chart.
Create the namespace you set in global.namespace — since 1.3 it no longer has to equal global.tenant, and oli-<tenant> is the recommended pattern (optional: create a unique name for the application—stick to proper notation, for example tenant-test).
Enable Customize Helm options before install.
Click Next and adapt the values accordingly to your needs. Changing the tenant and namespace is mandatory (value of previously created namespace).
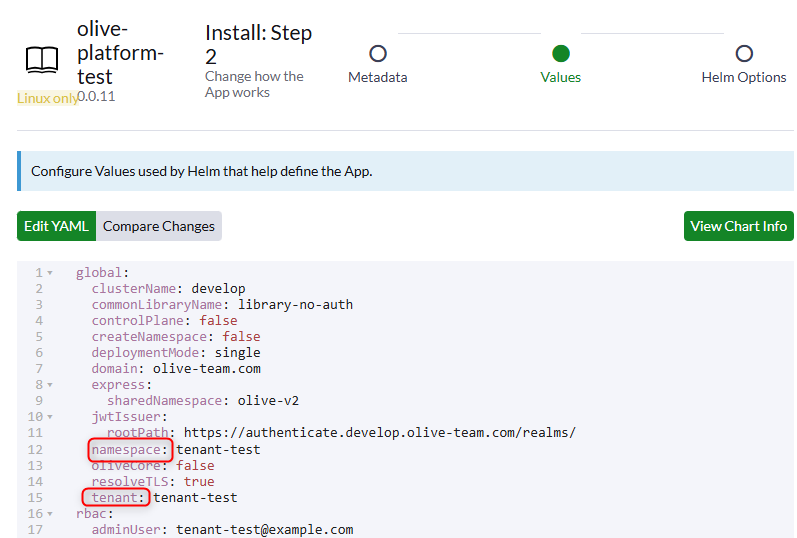
Click Next and Install.
Next Steps
After successfully deploying the OLIVE Platform via Rancher, proceed to:
Import Required Foundational OLIVE Connectivity Bundle – Complete the platform setup by importing the core configuration packages that enable essential OLIVE functionality.